

10 Image Optimization Techniques for WordPress


Pictures play an important role in today’s websites. They can also describe services, highlight products, foster trust and enhance engagement.
But big and not optimized images can be another major contributor to slow WordPress websites too.
While having a page full of high-resolution images can be very impressive, if the images are not optimized, they can cause longer load times, poor Core Web Vitals and a poor user experience for visitors with slower connections or on mobile devices.
There are many technical considerations in a complete website optimization strategy, including page speed, usability and user interaction.
There are several ways to make a website faster without sacrificing visual quality. Using the right image formats, reducing unnecessary file sizes, improving image delivery and following WordPress specific practices can all help.
“According to the 2025 Web Almanac by HTTP Archive, images accounted for 1,058 KB of the median desktop homepage and 911 KB of the median mobile homepage, making them the largest contributor to page weight.”
Source: Web Almanac by HTTP Archive
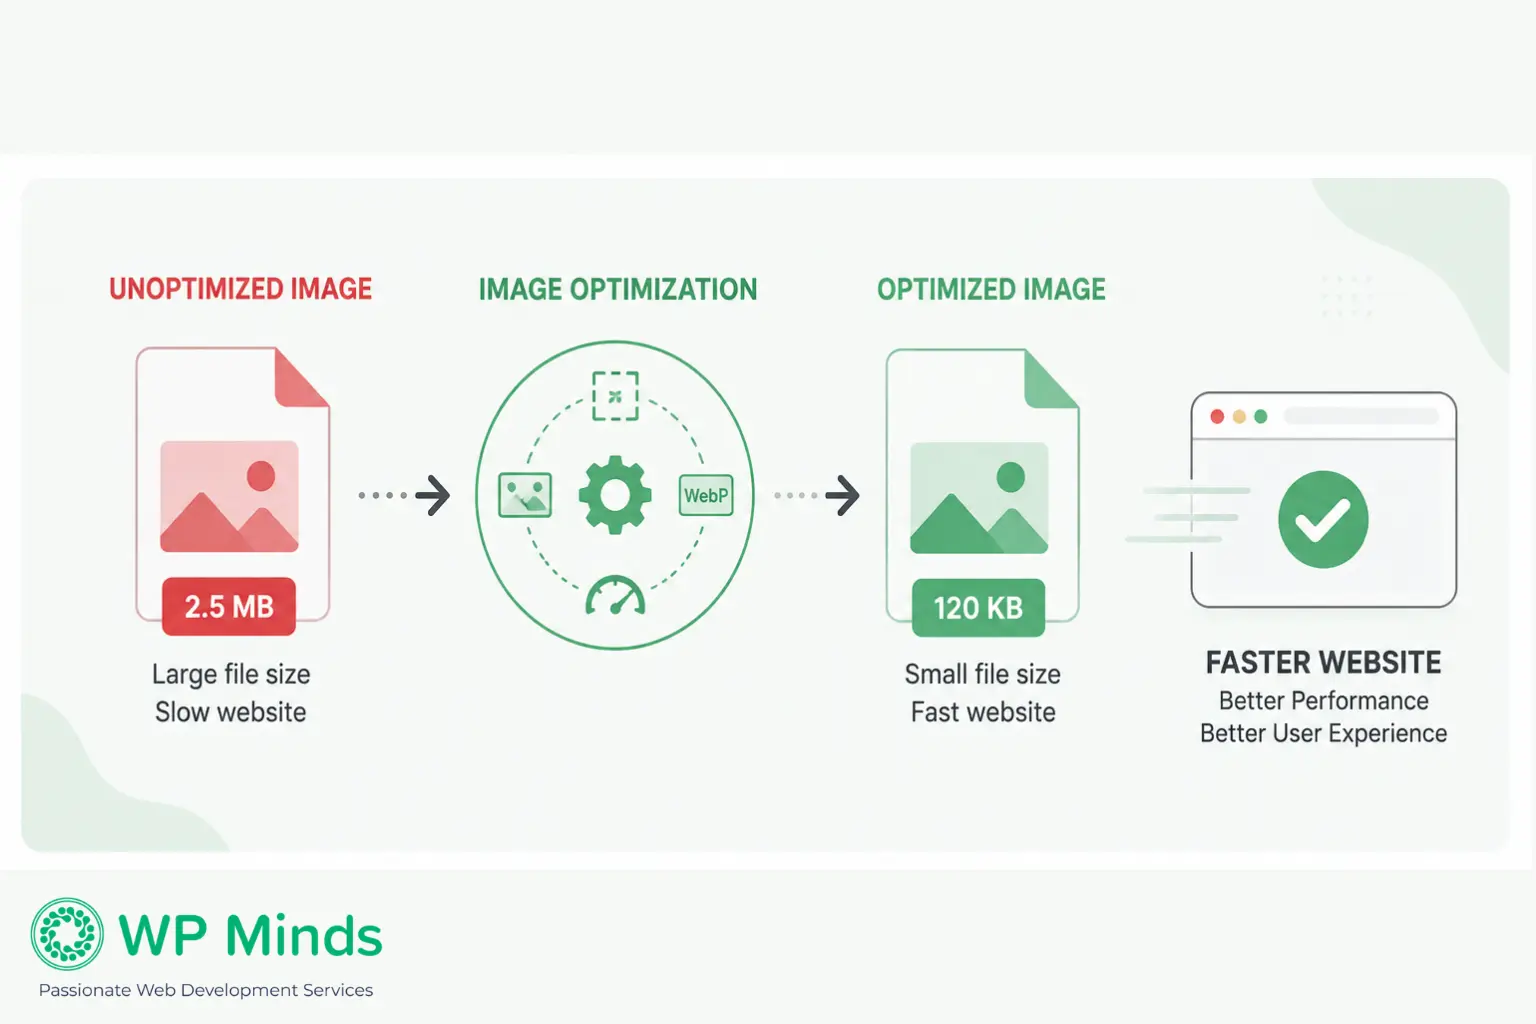
Here are 10 ways to optimize images in WordPress, improve website performance and enhance user experience.
10 Ways to Optimize Images
1. Choose the Right Image Format
The first step to image optimization is choosing the right file format.
Various formats are appropriate to various applications.
JPEG
JPEG is suitable for:
- Photographs
- Background images
- Images that have a large number of colors
It offers good image quality at relatively small file sizes.
PNG
PNG is useful for:
- Logos
- Icons
- Graphics requiring transparency
The PNG format, however, is often larger than JPEG and is particularly useful when transparency or lossless image quality is required.
WebP
WebP is a modern image format offering high-quality images at smaller file sizes, widely supported by browsers and preferred for WordPress websites for efficiency.
AVIF
AVIF is another modern format that can offer high compression.
But the conversion of a whole media library should be considered thoughtfully, taking browser compatibility and website requirements into account.
WebP is ideal for standard web images, while JPEG remains useful for photos. PNG is best for transparent images. AVIF may yield smaller files, but testing with your site’s configurations is essential before widespread conversion.
The best format depends on the image type and where it is used on your website.
2. Compress Images Before Uploading
A frequent error is to upload original camera or smartphone photos straight to WordPress.
However, modern cameras and smartphones can produce very large files that are often unnecessary for websites.
Compress images before uploading to minimize file sizes without significant loss of quality.Uploading original camera or smartphone photos to WordPress can create unnecessarily large files. Compress images before uploading to reduce file sizes while maintaining quality.
Image compression can be helped by:
- Removing unnecessary image data
- Reducing file size
- Improving loading speed
- Making pages lighter
The purpose of the operation is not to minimize all the images as much as possible. The aim is to achieve a balance between quality and performance.
Before uploading an image, reduce its file size using an image compression tool or an optimization plugin. Choose a compression level that reduces unnecessary data while keeping the image sharp enough for its intended display size. After compression, check the image on both desktop and mobile to make sure visible quality has not been affected.
Avoid repeatedly compressing the same image, as excessive compression can introduce visible artifacts without providing meaningful performance benefits.
3. Resize Images to the Correct Dimensions
When a large image is presented into a small space, the resources are wasted.
If, for instance, you upload a 4000px image, but your website displays it as a 600px image, you will be downloading an unnecessary amount of data.
Before uploading, consider:
- Where the image will be displayed
- The required display size
- Desktop and mobile layouts
- Theme requirements
Start by checking the maximum width at which the image will actually appear on the page. If an image is displayed at around 600px wide, there is usually no reason to upload a 4000px version simply to display it at a much smaller size.
WordPress can generate multiple image sizes and use responsive image markup such as srcset and sizes to help browsers select an appropriate image for the visitor’s screen.
“Google recommends responsive images so visitors receive an image appropriate for their device and screen, helping avoid unnecessarily large image downloads.”
Source: Google web.dev
However, you should still avoid uploading unnecessarily large originals. Resize very large photographs before uploading them, particularly when they will only be used in relatively small areas of the page.
Pro Tip:
Check the image’s displayed dimensions in your page builder or browser developer tools, then choose an image size that is appropriate for that layout rather than relying on CSS to shrink a huge file.
4. Convert Images to WebP
One effective way to reduce image file sizes is to convert suitable existing images to WebP.
WebP images are typically smaller than JPEG and PNG images while maintaining good visual quality.
WordPress optimization tools can automatically:
- Convert JPEG and PNG images to WebP.
- Generate optimized image versions for different screen sizes.
- Keep the original image available when needed.
- Deliver the optimized format to compatible browsers.
After converting images, check important pages on desktop and mobile to make sure image quality, transparency and layout remain correct.
5. Use Lazy Loading for Below-the-Fold Images
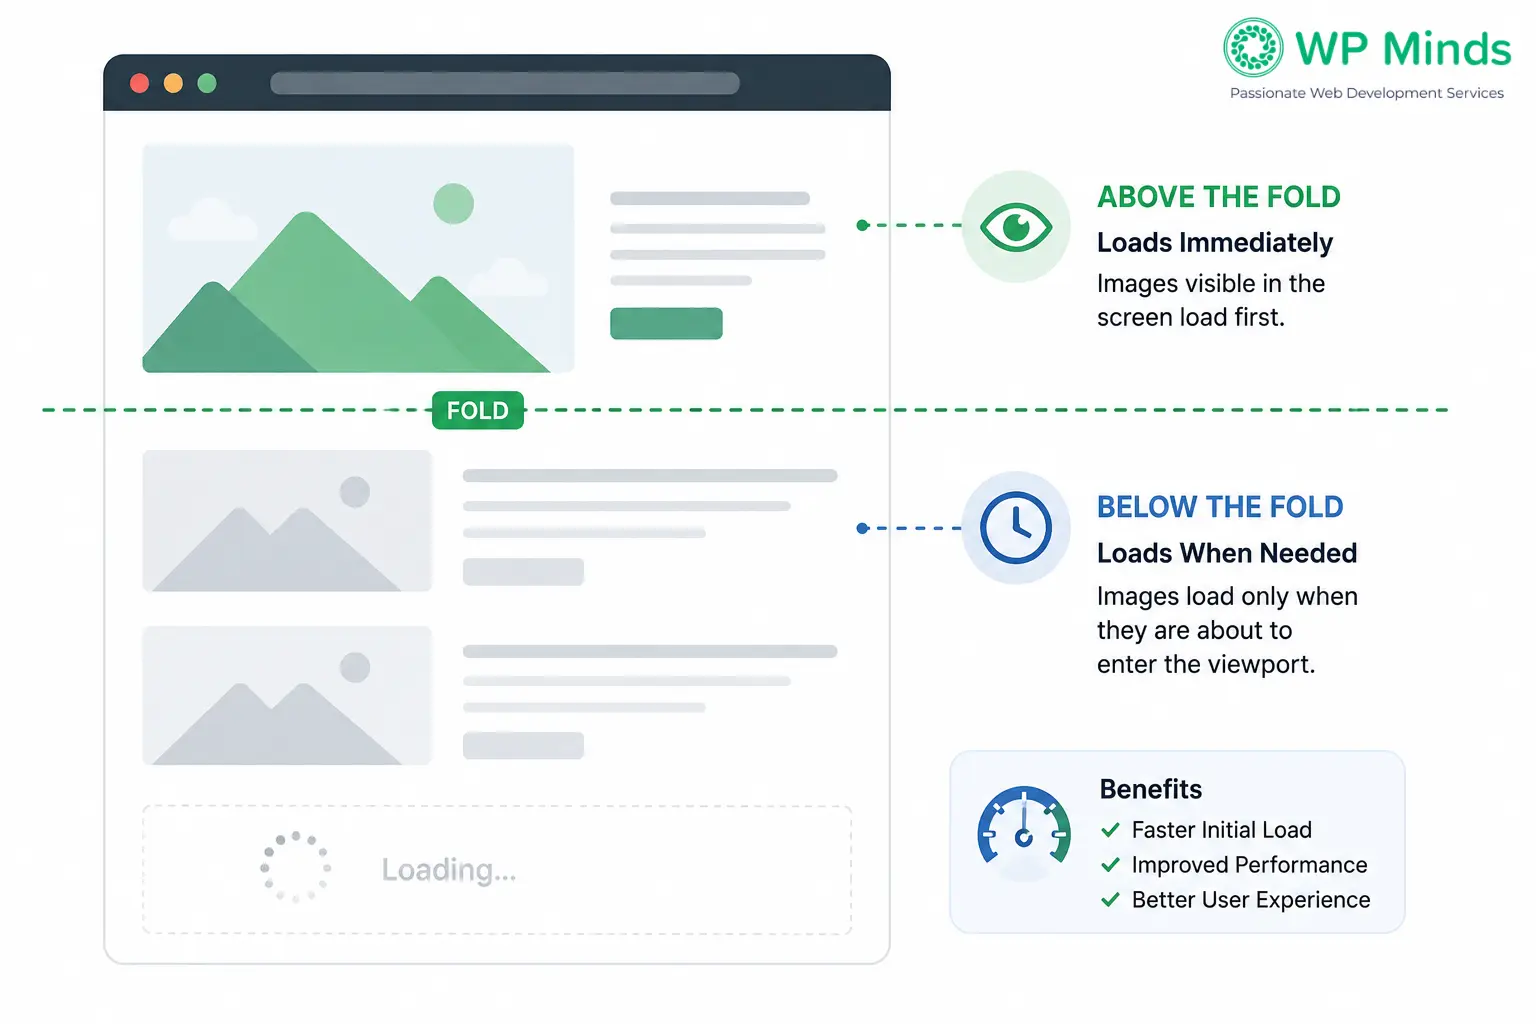
Lazy loading occurs when images are not loaded until they’re near the visitor’s screen.
If not lazy loaded, the web browser could try to download all images on a page at once, even images that may not be seen by the user.
Here are some of the reasons why lazy loading can be helpful:
- Long blog posts
- Portfolio pages
- Image galleries
- Pages with many below-the-fold images
- Image-heavy product/category pages
Not all images need to be postponed.
Images that appear immediately when the page loads, particularly an image that serves as the LCP element, generally should not be unnecessarily delayed. Lazy loading is more appropriate for images that are below the initial viewport and are unlikely to be needed immediately.
After enabling lazy loading, test your key pages with a performance tool and check whether the main content is loading as expected.
Lazy loading should be used properly and not indiscriminately as part of a proper speed optimization strategy.
Useful Read: 7 Ways to Improve WordPress Page Speed Optimization
6. Use a WordPress Image Optimization Plugin
Many of the image optimizations can be automated with a good WordPress image optimization plugin.
Features can include:
- Automatic compression
- WebP conversion
- Image resizing
- Bulk optimization
- Lazy loading
- CDN support
Plugins can be time savers, particularly for sites that have extensive media libraries.
But just setting up a plugin is not enough to achieve higher performance. The settings should be set properly and checked to make sure the speed is increased, but not at the expense of quality.
Before enabling multiple image optimization features, check whether your hosting, CDN, theme or another performance plugin already provides the same functionality. Overlapping optimization features can create unnecessary processing or unexpected image behavior.
In WordPress projects, we often see image performance issues caused by oversized files, incorrect image dimensions and overlapping optimization settings.
7. Deliver Images Through a CDN
A Content Delivery Network (CDN) distributes cached website assets across servers in different geographic locations, allowing visitors to retrieve cached assets from a server closer to their location.
This can help reduce delivery delays and improve image loading performance.
A CDN is most useful when a website serves visitors from different geographic locations or has many large media files. However, a CDN does not replace image compression or resizing. Sending an oversized image through a CDN is still sending an oversized image.
Also Read: How Hosting Impacts WordPress Speed
For the best result, optimize the image first and then use an appropriate delivery method to serve it efficiently.
If performance planning is part of the website development process, many speed-related issues can be addressed before they affect the finished website.
8. Optimize Images for Mobile Devices
Mobile visitors may use slower or less stable connections, so oversized images can have a greater impact on their experience.
Mobile-focused optimization includes:
- Using responsive image sizes
- Avoiding oversized banners
- Compressing large backgrounds
- Testing pages on mobile devices
- Removing unnecessary visuals
Test image-heavy pages on mobile and desktop. Focus on hero images, banners and background images, which may remain excessively large despite optimization.
9. Remove Unnecessary Images and Visual Elements
Not all pictures are good for a web page.
Some websites also use decorative images that add little value while increasing page weight.
Review your pages and ask:
- Is this picture relevant to the material?
- Does it effectively communicate about the service?
- Does it enhance trust or engagement?
Sometimes it is better to remove images than to compress images.
On conversion pages, speed and clarity impact user decisions significantly; thus, removing unhelpful images can enhance performance more than attempting to optimize them.
A quicker website will make website conversion a smoother experience by minimizing friction on the visitor’s journey.
10. Monitor Image Performance Regularly
Optimizing images is an ongoing process. New pages, products, blogs and media files are added as websites get bigger.
If it is not monitored regularly, the image sizes may grow over time and impact performance.
Image performance monitoring should include:
- Checking large media files
- Analyzing page speed reports
- Checking Core Web Vitals
- Updating optimization settings
- Removing unused images
Websites are evolving and it’s important to keep performance improvements consistent with a structured WordPress maintenance plan.
How Image Optimization Improves Core Web Vitals and SEO
Image optimization can contribute to better page performance and Core Web Vitals, particularly when large images affect loading performance.
Large images can have a negative impact on:
- Largest Contentful Paint (LCP)
- Page loading speed
- Mobile usability
Optimized images enable important content to load quicker in the browser, which results in a better experience for visitors.
Optimizing images is not an alternative solution to providing great content or great technical SEO, but it’s a vital component of a comprehensive website optimization strategy.
Improve WordPress Website Speed With Proper Image Optimization
Images should enhance the user experience, not slow the website down.
The key is using several methods, including choosing the right format, optimizing files, employing WebP, correctly implementing lazy loading and monitoring performance regularly.
When it comes to WordPress, image optimization is best performed in conjunction with other performance optimization measures.
Slow loading times, large media files and poor Core Web Vitals can all affect website performance. WP Minds helps businesses improve WordPress website performance through technical optimization and development.
WordPress speed optimization service can help address slow loading times, large media files and Core Web Vitals issues. WordPress design and development can help build websites that are functional, usable and responsive.
You can also book a call to learn how speed enhancements, WordPress development and ongoing maintenance can help create a faster and more effective website.
More Related Blogs:
- Website optimization: 25 Strategies to optimize your website
- 17 Best Website Optimization Tools
- How to Benchmark Website Performance for Optimal Results
FAQs (Frequently Asked Questions)
How do I optimize images in WordPress without losing quality?
Reduce file sizes without compromising visual quality by using compression tools. Reduce file sizes when uploading, choose the right file format, convert images to WebP when suitable and do not use unnecessarily large files.
What is the best image format for WordPress: WebP, AVIF, JPEG or PNG?
Not all images are suitable for the same formats. In general, WebP is a good choice for images on web pages as it can achieve smaller file sizes while maintaining high quality. JPEG is good for photos, PNG is useful for transparency and AVIF can offer further compression if available.
What is the best image size for WordPress?
The optimum size for the image will vary according to its application. Use images that are close to the size they will be displayed at when uploading, rather than very big images and letting WordPress resize them.
What is the best WordPress image optimization plugin?
Depending on your website requirements and hosting configuration, the optimal plugin will vary. A plugin that works well with optimization should enable compression, use new formats like WebP, shrink images and optimize them all without compromising image quality.
Should I lazy load every image on my WordPress website?
No. Images below the fold are generally good candidates for lazy loading, while important images that appear immediately when the page loads, particularly the LCP image, should generally not be unnecessarily lazy-loaded.
How does image optimization affect Core Web Vitals and SEO?
Optimized images reduce page weight and can help pages load faster. This can improve loading performance and contribute to better Core Web Vitals and user experience. Image optimization is one part of broader technical SEO and website performance.

Popular Guides
View All Guides